Even though digital pictures have millions of pixels, modern computers are so fast that they can process all of them quickly. You will write methods in the
Picture class that modify digital pictures like the ones below.
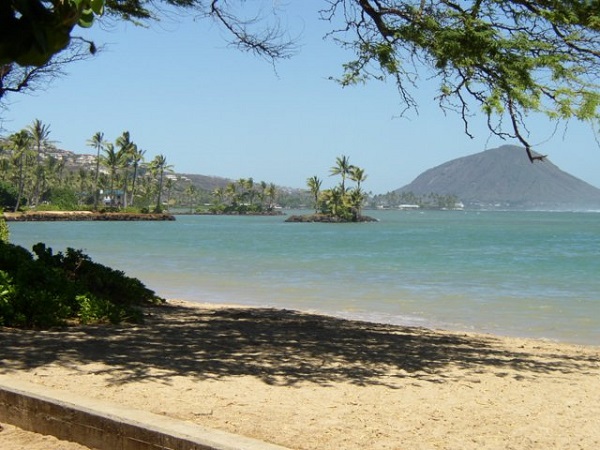
Data: beach.jpg

Data: metalLion.jpg

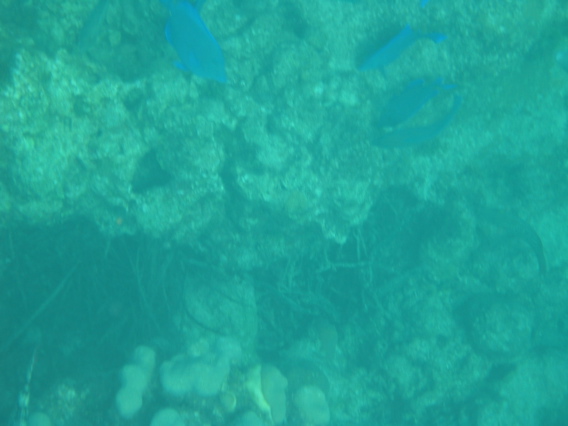
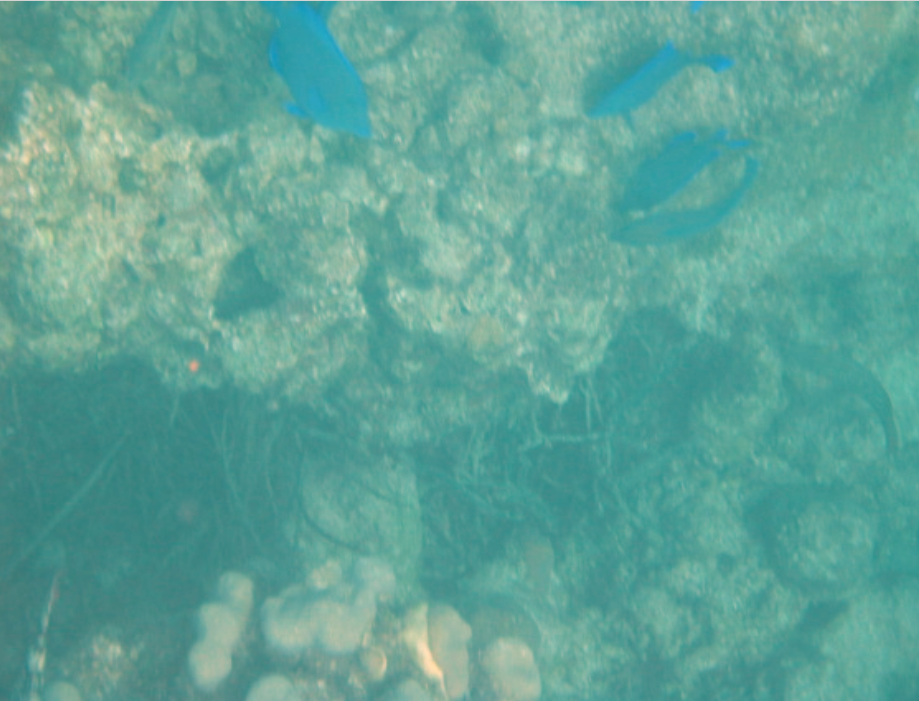
Data: water.jpg

Data: kitten.jpg

Data: puppies.jpg

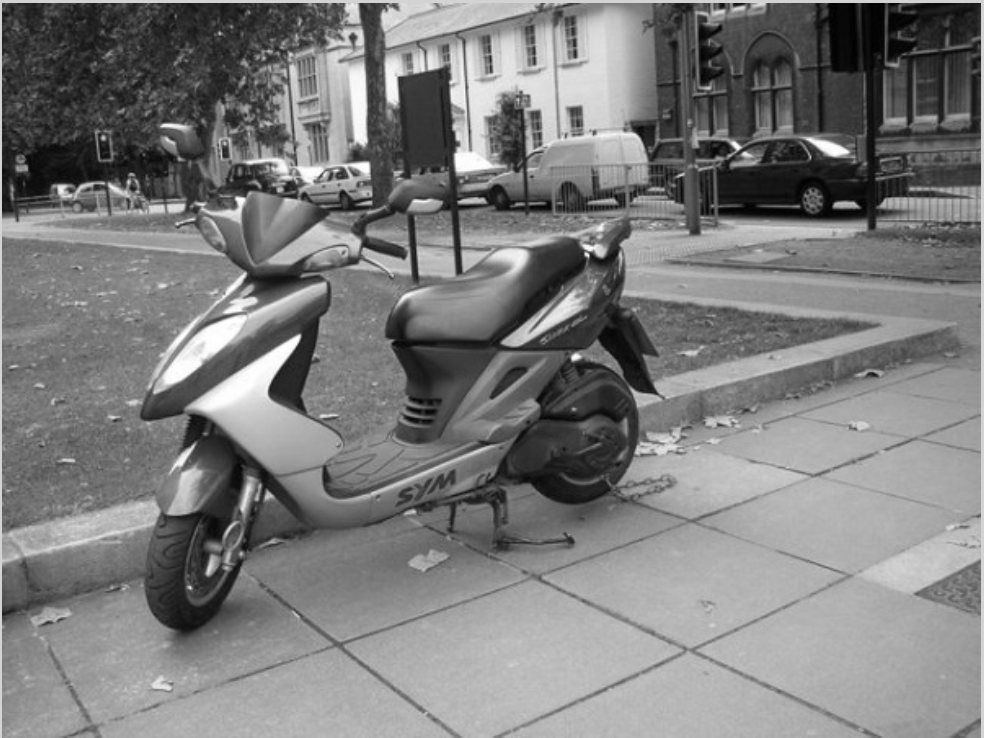
Data: blueMotorcycle.jpg

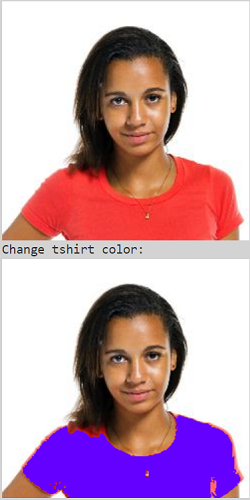
Data: student.jpg

You can loop through all the Pixel objects in the two-dimensional array to modify the picture. You can get and set the red, green, and/or blue value for a Pixel object. You can also get and/or set the Color value for a Pixel object. For example,
Picture pict = new Picture("beach.jpg");
Pixel[][] pixels = pict.getPixels2D();
Pixel p = pixels[0][0]; // get the first pixel
int blue = p.getBlue(); // get its blue value
System.out.println("Pixel (0,0) has a blue value of " + blue );
p.setBlue(255);  // set its blue value to 255
pict.show();
Subsection 4.66.1 Image Modification Exercises
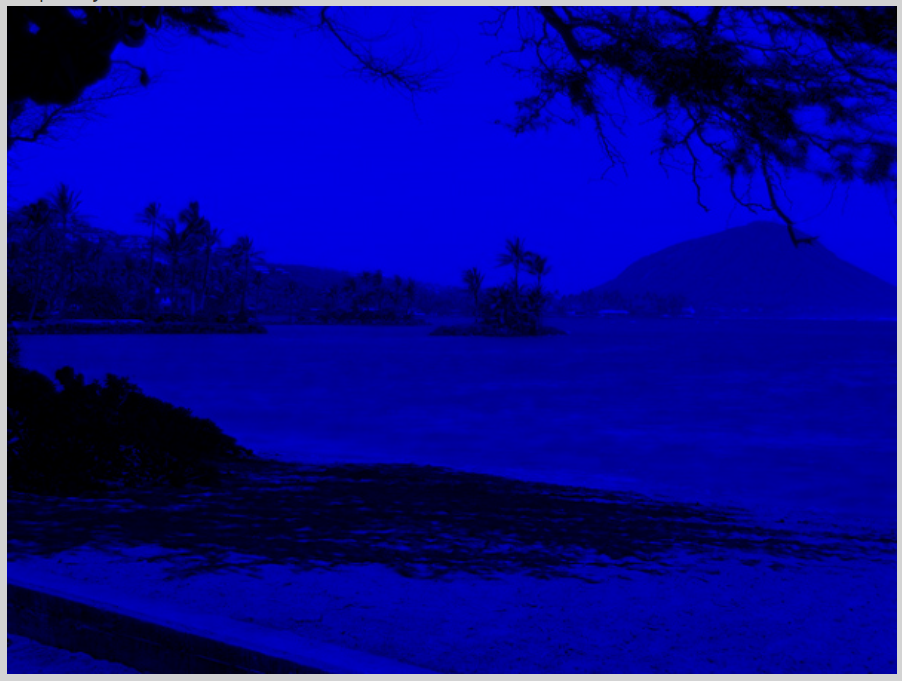
What do you think you will see if you modify the beach picture to set all the blue values to zero? Do you think you will still see a beach? Run the main method in the Picture class in the Active Code below. The body of the main method will create a Picture object named beach from the “beach.jpg” file and call the method that sets the blue values at all pixels to zero. The following code is the main method from the Picture class.
public static void main(String[] args)
{
  Picture pict = new Picture("beach.jpg");
  pict.show(); // show the before picture
  pict.zeroBlue();
  pict.show(); // show the after picture
}
The method
zeroBlue in the
Picture class gets a two-dimensional array of
Pixel objects from the current picture (the picture the method was called on). It then declares a variable that will refer to a
Pixel object named
pixelObj. It uses a nested for-each loop to loop through all the pixels in the picture. Inside the body of the nested for-each loop it sets the blue value for the current pixel to zero. Note that you cannot change the elements of an array when you use a for-each loop. If, however, the array elements are references to objects that have methods that allow changes, as they are here, you can change the internal state of objects referenced in the array.
The following code is the
zeroBlue method in the
Picture class.
public void zeroBlue()
{
     Pixel[][] pixels = this.getPixels2D();
     for (Pixel[] rowArray : pixels)
     {
          for (Pixel p : rowArray)
          {
             p.setBlue(0);
          }
     }
}
Another option is to use for loops with indices to visit each pixel in the picture:
public void zeroBlue()
{
     Pixel[][] pixels = this.getPixels2D();
     for (int row = 0; row < pixels.length; row++)
     {
          for (int col = 0 ; col < pixels[0].length; col++)
          {
             Pixel p = pixels[row][col];
             p.setBlue(0);
          }
     }
}
1. You may have done this exercise in the coding challenge in lesson 8.2. Using the
zeroBlue method as a starting point, write the method
keepOnlyBlue that will keep only the blue values, that is, it will set the red and green values to zero. Be sure to call the new test method in the
main method.
You can use beach.jpg or one of the other images seen at the bottom of this lesson in the active codes below which are autograded. To use your own images, you can fork this
replit.com Swing project or this
alternative replit.com project (click output.jpg to see the result) or download the project files form replit to your own IDE.
Activity 4.66.1.
Picture Lab keepOnlyBlue: Using zeroBlue() as a guide, write a method called keepOnlyBlue() that keeps only the blue values by setting the red and green values to zero. Change the method call in main from zeroBlue to keepOnlyBlue to test it. Try one of the other images below like metalLion.jpg, water.jpg, kitten.jpg, puppies.jpg, blueMotorcycle.jpg, or student.jpg.
2. Write the negate method to negate all the pixels in a picture. To negate a picture, set the red value to 255 minus the current red value (use the pixel’s
getRed method), the green value to 255 minus the current green value and the blue value to 255 minus the current blue value. Be sure to call the new test method in the main method.
Activity 4.66.2.
Picture Lab negate: Write a method called negate() that negates all the pixels in a picture by setting the red value to 255 minus the current red value (use the pixel’s getRed() method), the green value to 255 minus the current green value and the blue value to 255 minus the current blue value. Try one of the other images below like beach.jpg, metalLion.jpg, water.jpg, kitten.jpg, puppies.jpg, blueMotorcycle.jpg, or student.jpg.
3. Write the grayscale method to turn the picture into shades of gray. Set the red, green, and blue values to the average of the current red, green, and blue values (add all three values and divide by 3). Be sure to call the new test method in the main method.
Activity 4.66.3.
Picture Lab Grayscale: Write a method called grayscale to turn the picture into shades of gray. Set the red, green, and blue values to the average of the current red, green, and blue values (add all three values and divide by 3). Try another image file from beach.jpg, metalLion.jpg, water.jpg, kitten.jpg, puppies.jpg, blueMotorcycle.jpg, student.jpg.
Activity 4.66.4.
Picture Lab fix-underwater: Write a method called fixUnderwater() to modify the pixel colors to make the fish easier to see. Try increasing one of the colors by a certain factor.
5. Extra Challenge — This exercise is not in the original picture lab. Can you change just the t-shirt color in student.jpg? You will need to use an if statement inside the loops to look for the red t-shirt color and then change it. The red pixels probably have a high red value (for example greater than 200) and low green and blue values (for example less than 100). After changing the t-shirt color, try changing the background color or the hair color.
Activity 4.66.5.
Can you change just the t-shirt color in student.jpg? You will need to use an if statement inside the loops to look for the red t-shirt color and then change it. The red pixels probably have a high red value (for example greater than 200) and low green and blue values (for example less than 100). After changing the t-shirt color, try changing the background color or the hair color.