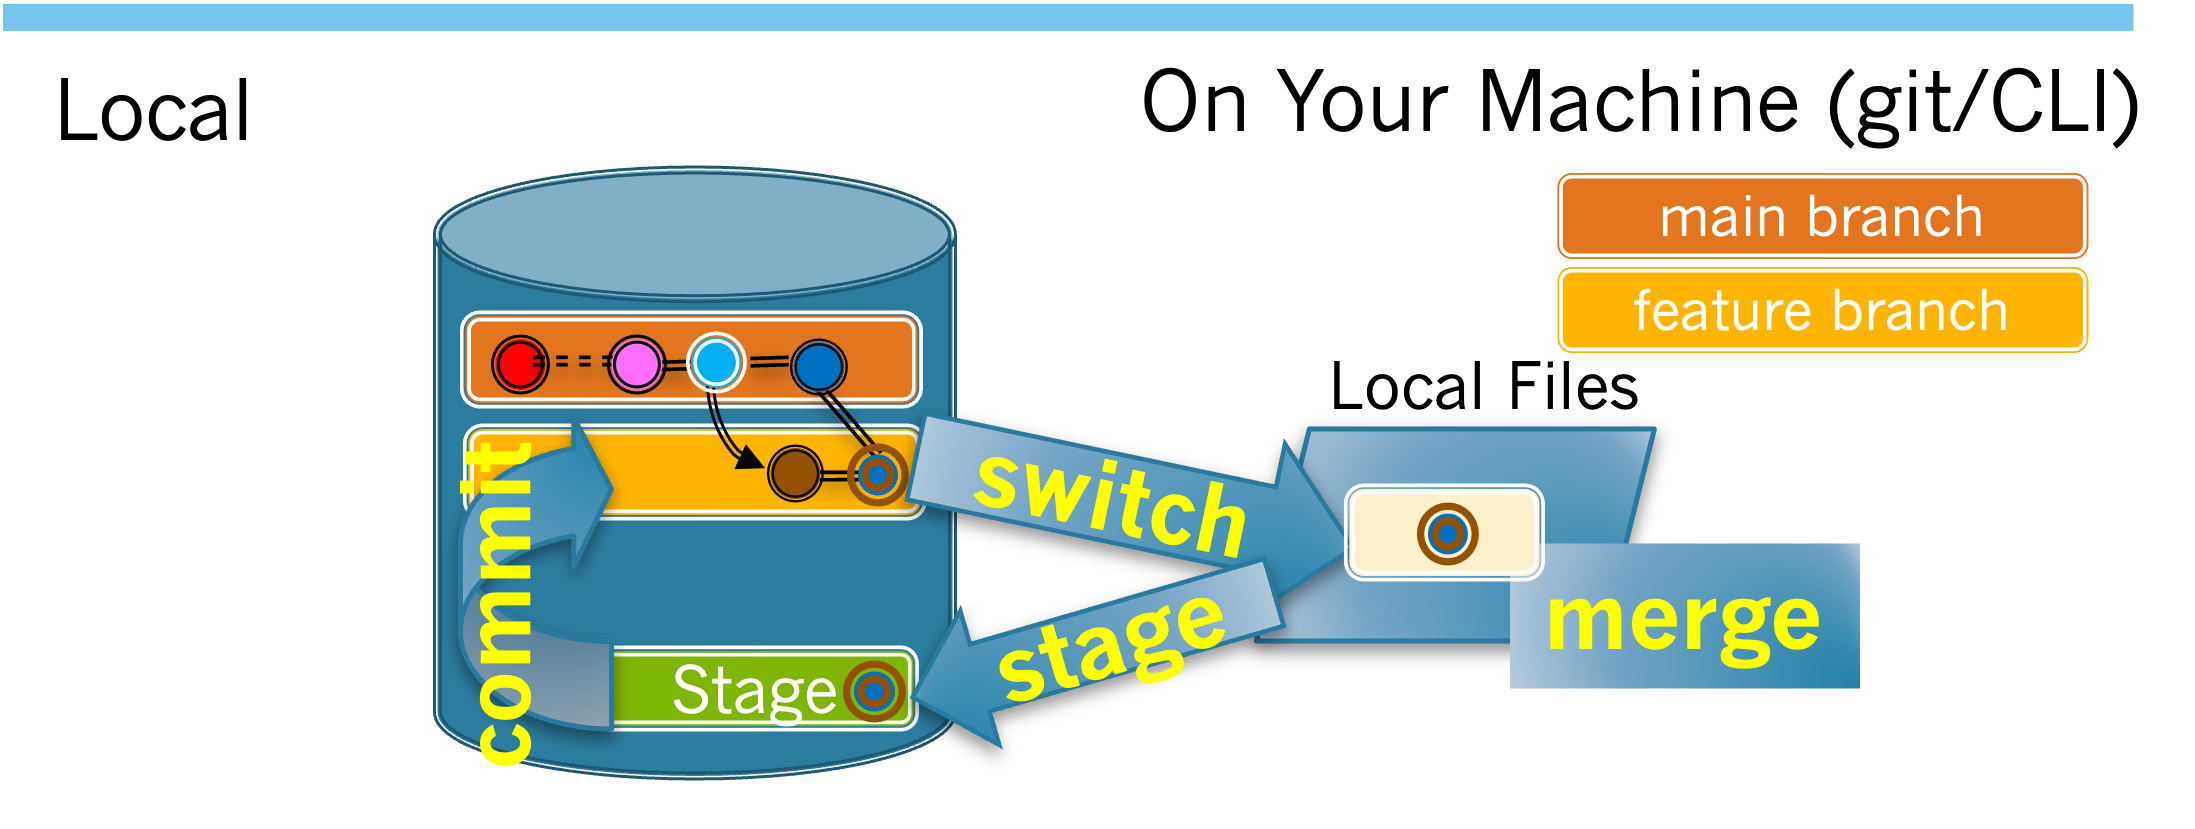
Diagram showing that resolving the merge conflict will require editing the local files in the feature branch to resolve the conflict, staging the changes, and committing those changes to the feature branch.
This section will walk you through the process of resolving the merge conflict. In Section 5.4 Merging the main Branch into a Feature Branch you merged the main branch into your feature branch. This created a merge conflict. In this section you will edit the raw merge conflict information to resolve the conflict and then you will stage and commit the merged changes.
If you are not seeing the README.md file open it from the EXPLORER pane. If you are not seeing the merge conflict information, scroll through the README.md file to the location where you made your change. The raw merge conflict information should appear there. If it does not, return to Section 5.4 Merging the main Branch into a Feature Branch and try to correct the issue.
The editor window for the README.md file displays the raw conflict information that has resulted from the merge. The following tasks ask you some question about this information.
Recall that the merge conflict that you are seeing arose because your feature branch and the upstream main branch contain changes to the same part of the file. In this situation, Git is not able to automatically decide which changes to keep or how to combine the changes. This decision must be made by a developer, in this case... by you!
It is possible to resolve merge conflicts by editing the raw merge information, including removing the chevrons and dividers. However, most development environments, including the one you are using, provide special tools to help with the resolution of merge conflicts.
The basic merge tool in your development environment provides four options to assist with resolving merge conflicts. These options appear in the editor just above the merge conflict information as shown in Figure 5.5.2.
The basic merge tool header shows "<<<<<<<< HEAD (Current Change)" with the clickable options "Accept Current Change", "Accept Incoming Change", "Accept Both Changes", "Compare Changes" above the header.
If you would like to try out the other merge options you can undo your changes by opening the Hamburger menu (☰), clicking on "Edit" and choosing "Undo".
This basic merge tool is helpful for resolving small uncomplicated merge conflicts. Most development environments also provide more advanced merge tools for working with more complex conflicts. The use of those tools is beyond the goals of this chapter.
At this point you have resolved the merge conflict, but the resulting changes have not been committed to your feature branch. In this section you will commit those changes to your feature branch.
Which of the following appear in the output of the git status command and indicate that your merged changes have not yet been committed to your feature branch?
Imagine that after you completed the merge you realize that you didn’t merge the changes the way you had intended. Which Git command could you use to undo your merge?
Feel free to try out the git merge --abort command. After you run it, the raw merge conflict information will reappear in the README.md file. Be sure to re-merge the changes from your feature branch before moving on.
From Task 5.5.3.1.a you can see that you now have uncommitted changes. Those changes are the changes you made when resolving the merge conflict. The next step is to commit your changes.
Run the second command from Exercise 5.5.3.2 in the terminal. Be sure to replace the <message> placeholder with a meaningful commit message. Then use git status and examine the output.