To work on your issue you will need to setup a development environment. The development environment is where you will create your clone of the repository, where you will edit files, and where you will use Git commands to add your changes to your clone and push those changes to your origin.
Many FOSS contributors will setup the development environment on their personal machines. However, because student machines vary greatly the GitKit provides a browser-based development environment that you will access using your web browser. This development environment is guaranteed to be the same for everyone that uses it. It includes a code editor, development tools, and a few features designed specifically to help you stay on track when completing the GitKit’s hands-on exercises.
In this section you will create a new development environment, learn how to stop and restart the development environment, and do some necessary configuration of Git.
Wait for the development environment to be created. Your browser window will refresh and change a few times during the creation process. Please be patient as this can take a few minutes.
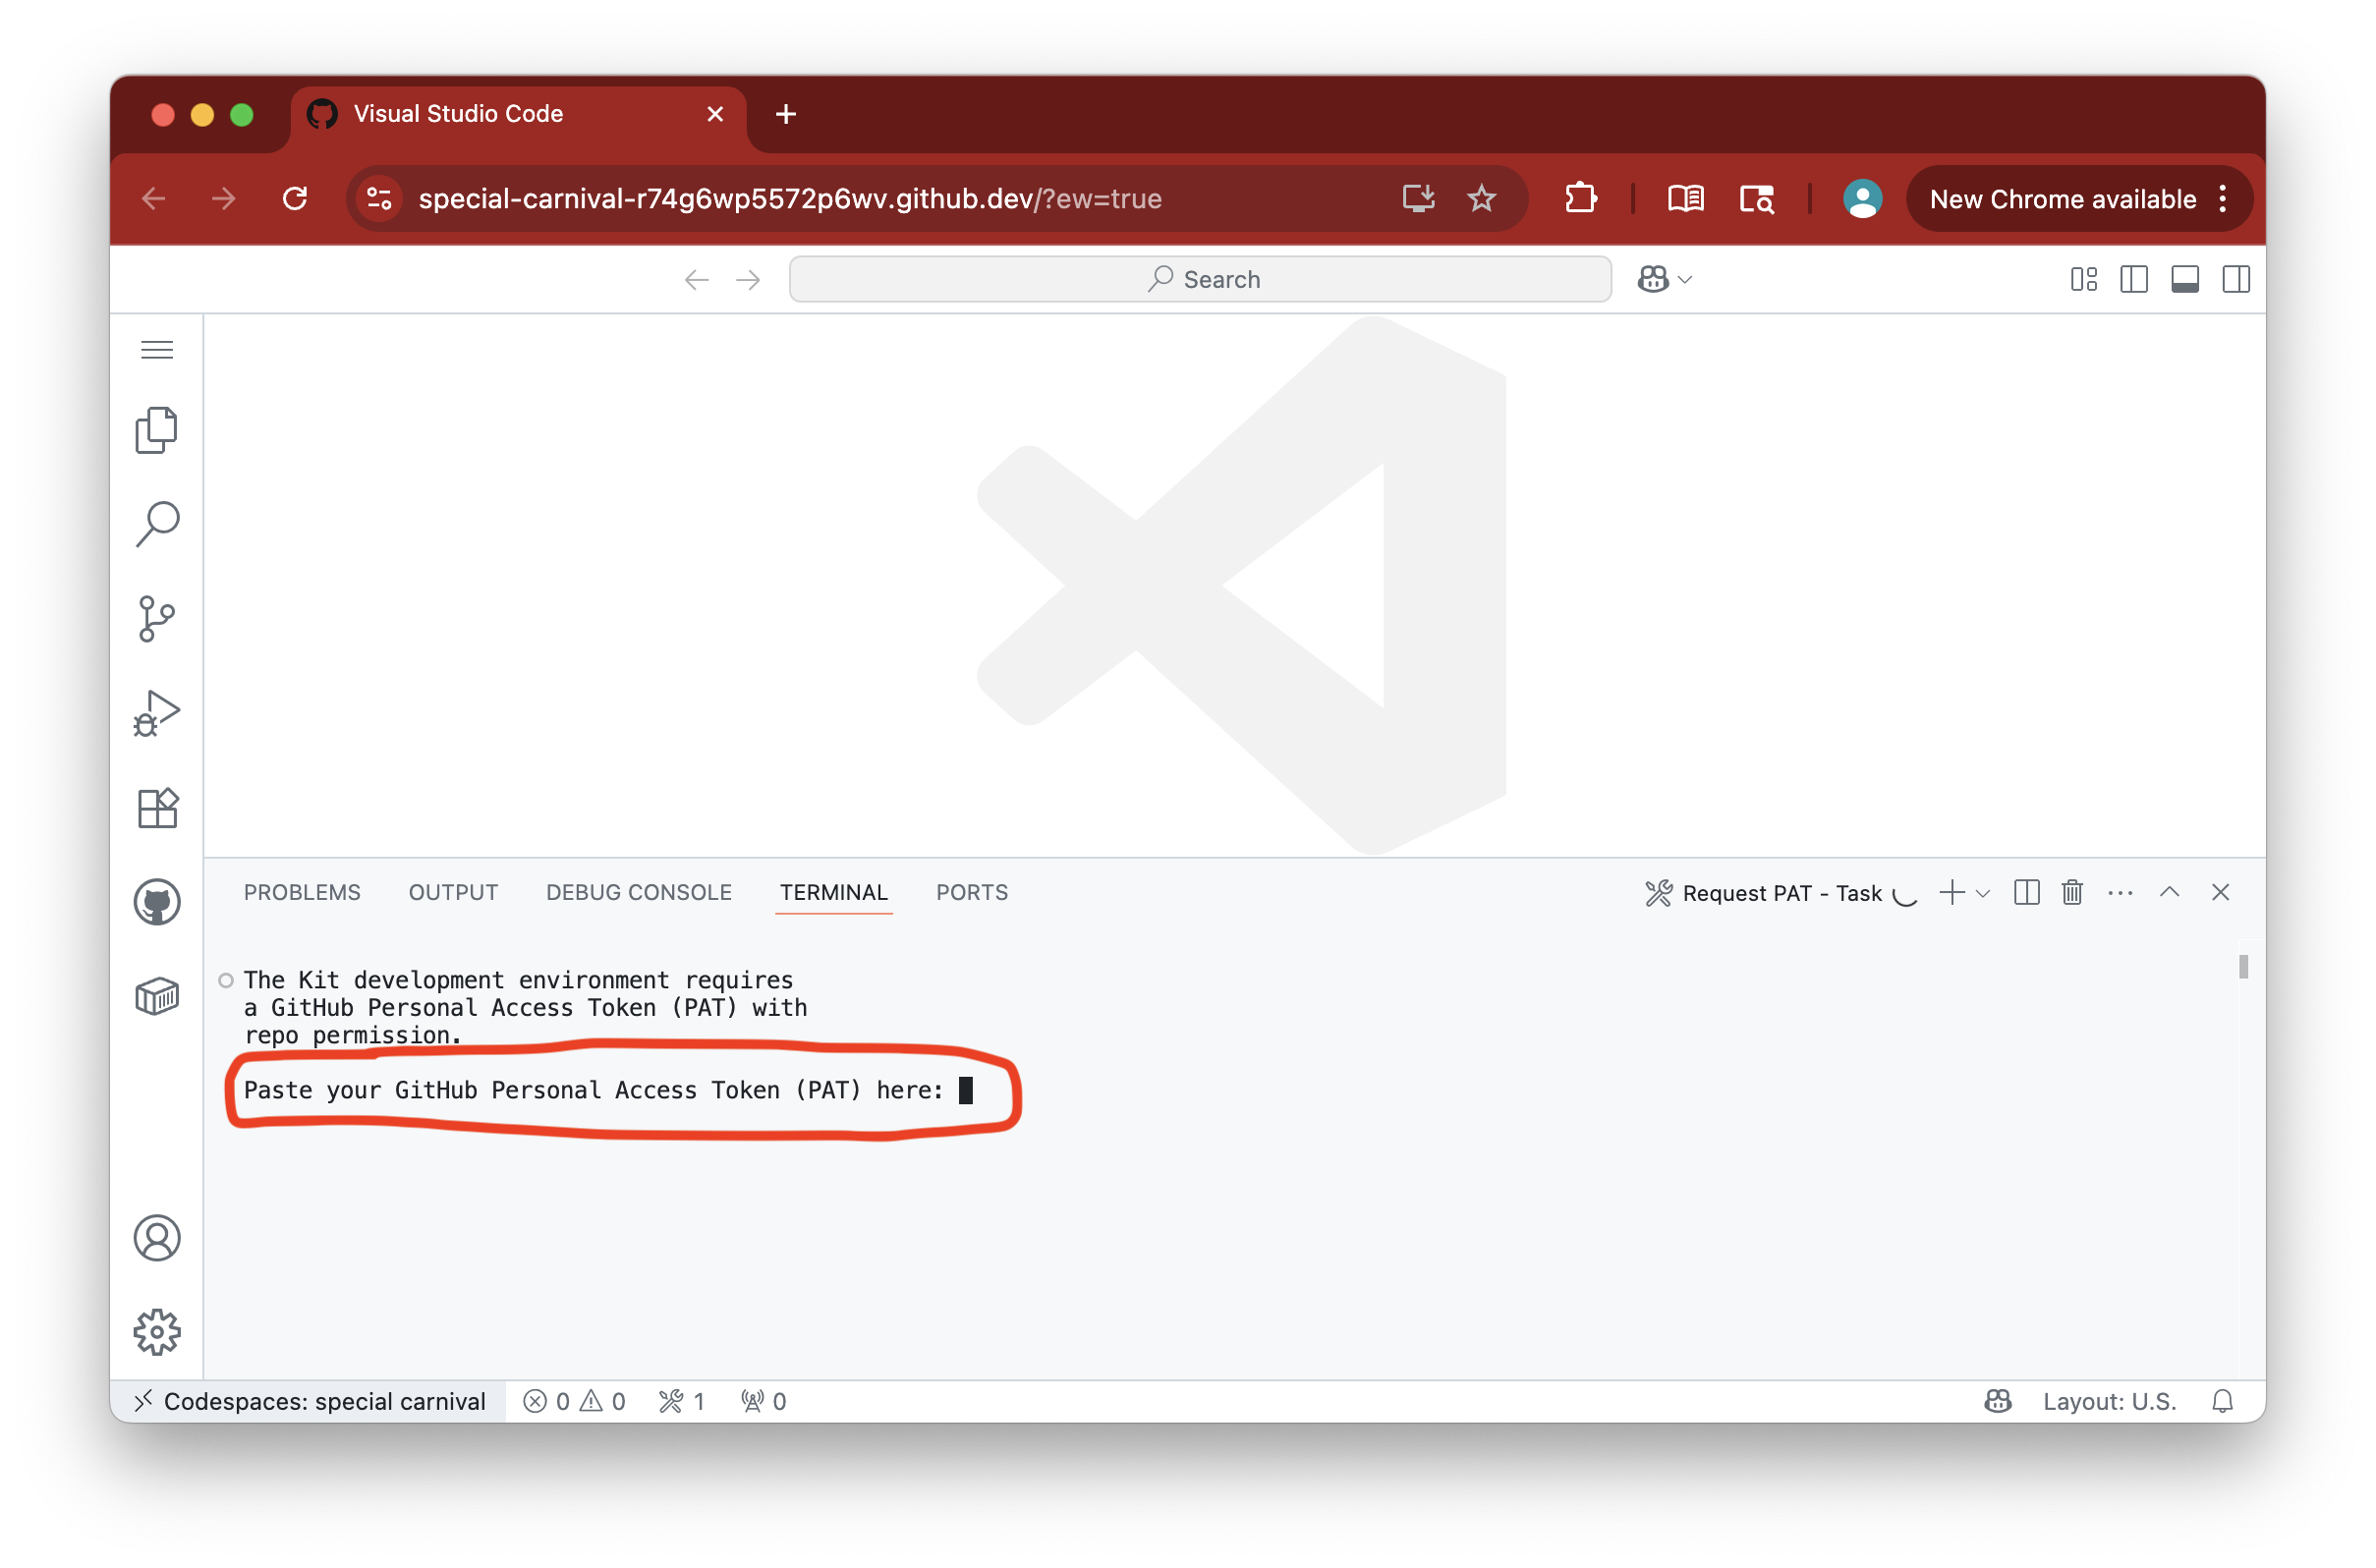
After a few minutes, your browser window will look similar to Figure 2.8.1 including the prompt asking you to paste your GitHub Personal Access Token (PAT).
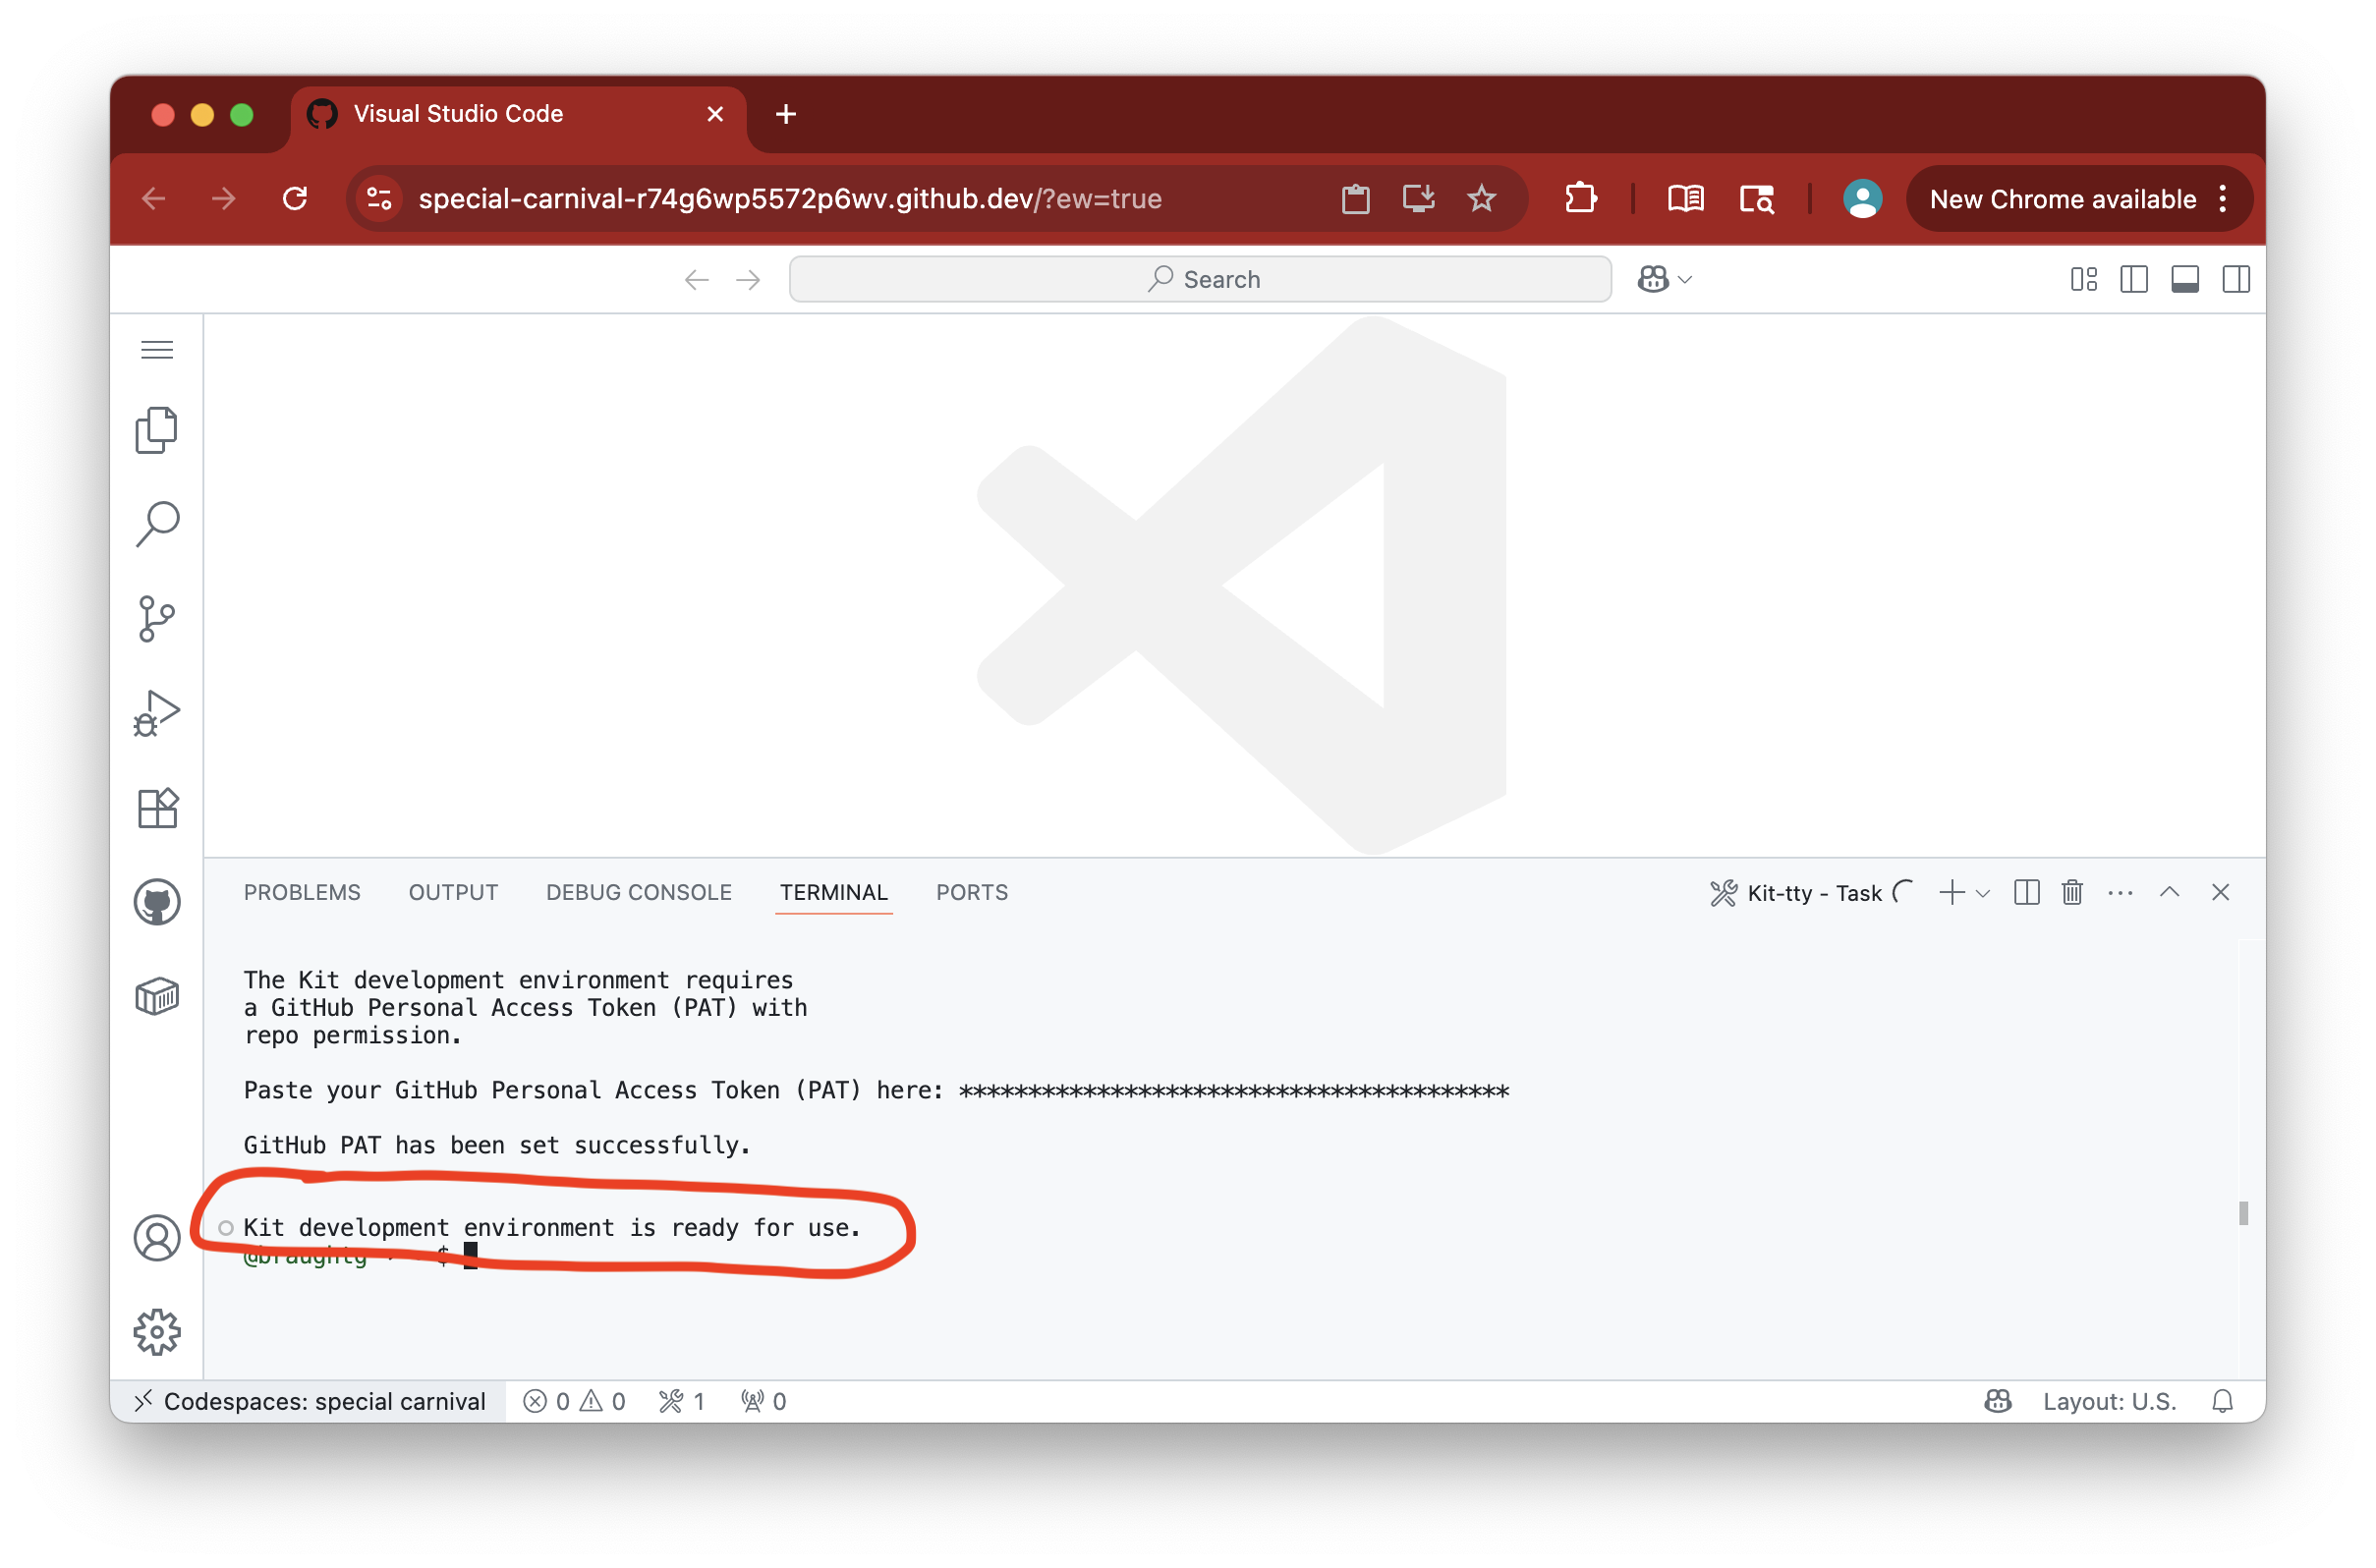
After pasting your PAT, the development environment will finish being created. When the development environment is fully created your browser window will look similar to Figure 2.8.2 including the "Kit development environment is ready for use" message.
Subsection2.8.2Stopping the Development Environment
At some point you will complete an assignment or want to take a break and do other things. When you do so, you should stop the development environment. This will ensure that you do not consume more of your free Codespaces time than necessary.
Please be patient as this can take a few minutes. When the development environment is ready you will see the message "Kit development environment is ready for use" and your browser window will look similar to Figure 2.8.3.
Figure2.8.3.The GitKit Development Environment. The development environment is ready when you see the "Kit development environment is ready for use" message.
Your development environment includes a Git client. The Git client is the tool that you will use to interact with Git repositories, such as the GitKit FarmData2 repository.
There are lots of different Git clients. Some are graphical and some use a text interface. These exercises, introduce you to Git using the text-based Git command line interface (CLI). This is the most general way to interact with Git and will provide a conceptual foundation for using any other Git client that you might encounter.
Git repositories maintain a complete history of all changes, including who made each change. To do this, Git needs to know a little bit of information about you.
Git identifies the author of each change using two pieces of information: A name and an email. For name, you might decide to use your full name, or a nickname, or your GitHub username. Just keep in mind that whatever name you use will be associated with all of the changes you make. For email, you can use any valid e-mail associated with you.
The git config --global user.name "<name>" command sets the name that Git will associate with your changes. Throughout this book, < > will be used to indicate a part of a git command that you must enter. For example, if you want your name to appear as Jane D. the command would be git config --global user.name "Jane D.".
The git config --global user.email "<email>" command sets the email address that Git will associate with your changes. For example, if your email is janed@gmail.com the command would be git config --global user.email "janed@gmail.com".
Then use the command git config --global --list to display the Git configuration. Examine the output and select all of the Git configuration keys that have values assigned to them.